How to Use WordPress Icon Fonts the Right Way (Better Performance)
- Category : WordPress
- Posted on : Feb 06, 2019
- Views : 3,255
- By : Zane P.

Back in the early days, icons were readily available, but implementing them efficiently in WordPress was a bit more difficult. You could get around some issues with sprites, but they were not always a good way forward, and as retina screens started coming out, the problem was magnified (quite literally).
One of the most common solutions to this problem is to use an icon font. Icons are web fonts or vectors, so you can scale them infinitely and a lot of icons can fit inside a single file, bringing down your request count considerably. This allows you to use almost any icon you can possibly dream up. However, with this, also comes some performance considerations.
We’ll show you in this article a couple different ways to use WordPress icon fonts, where to get them, and which method might be the best for your site.
Where to Find Icon Fonts
There are a lot of great places to now find icon fonts for your WordPress site. Just type “icon font” into Google will yield you some great results. One of the most popular and widely used ones is Font Awesome. As of writing this, it has 1,400+ free icons, as well as 4,500+ icons in their pro version. It includes icons for just about everything, from interface, to social, arrows, and many other types of icons.
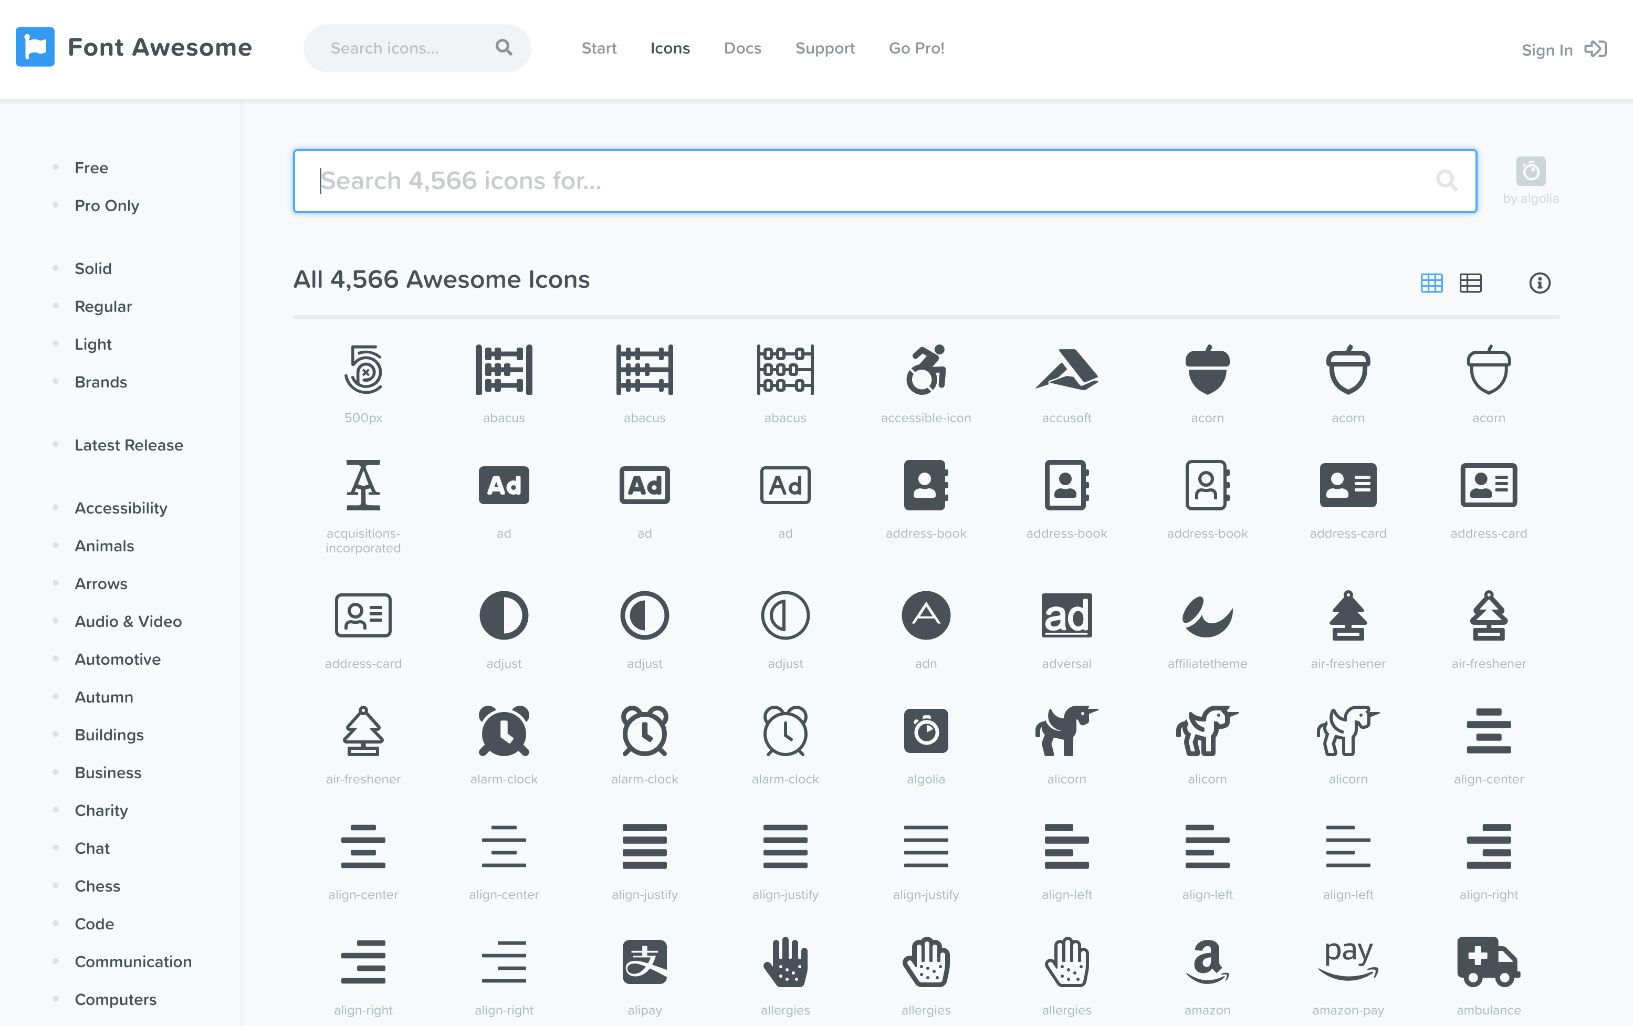
Here are a few other ones to check out:
- IcoMoon is another popular service with 5,500+ free vector icons and 4,000+ premium icons. In fact, we’ll be using their icon font generator tool further below.
- Fontello is another great service that helps you discover and built icon fonts.
- If you’re looking for a super lightweight icon set, make sure to check out Bytesize. All 84 icons measure in at 9KB minified (2 KB in SVGZ, or Gzipped).
- If you’re wanting to simply use SVG icons manually, you won’t find a better free library than iconmonstr or a better premium library than Iconfinder.
Quick and Easy Ways to Use WordPress Font Icons
First we’ll dive into some of the quick and easy ways to use WordPress font icons. Fair warning, not all of these are the best in terms of performance. For that, we recommend skipping down to the section on the best method.
Option 1 – Use a WordPress Plugin
The quickest way to get up and running with WordPress font icons is to simply use a third-party plugin. The free Font Awesome Integration plugin contains the latest Font Awesome 5 icon library. After you install and activate it, all it takes is a simple shortcode code to insert an icon. They even have a WordPress icon now! Pretty cool.
You can check out Font Awesome 5’s basic use chart for additional ways to use and customize it, as well as their icon library. For example, below we inserted the WordPress Font Awesome icon in a Gutenberg shortcode block and added fa-3xto make it three times bigger.
[fawesome iclass="fab fa-wordpress fa-3x"]
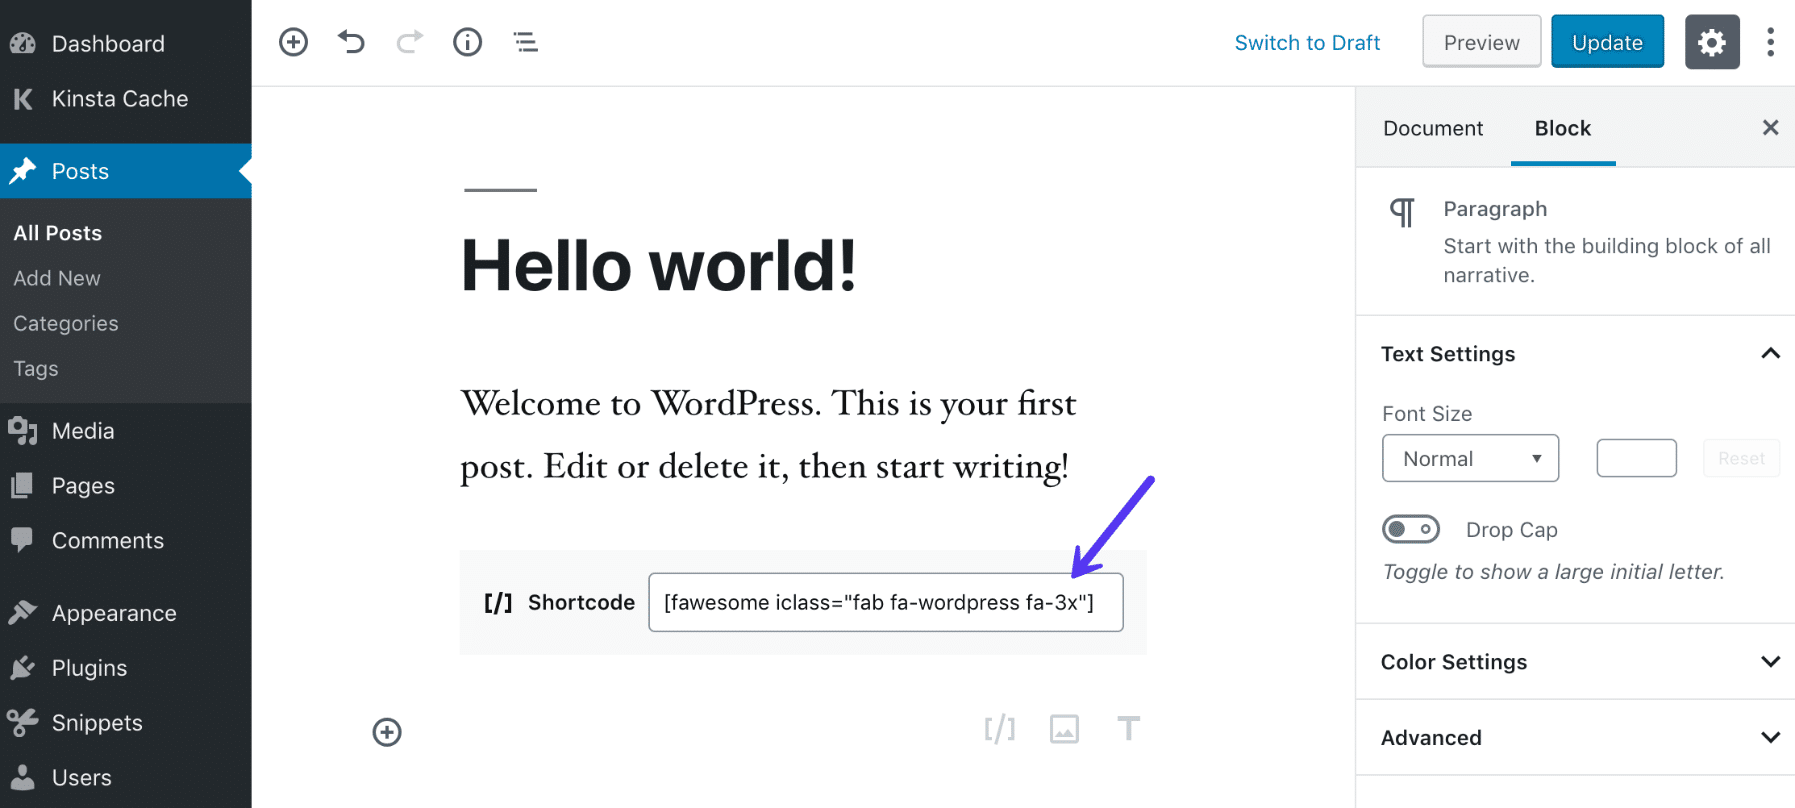
Here is what it looks like on the front-end. Pretty easy right? We had a Font Awesome icon up and running on our site within just a few minutes.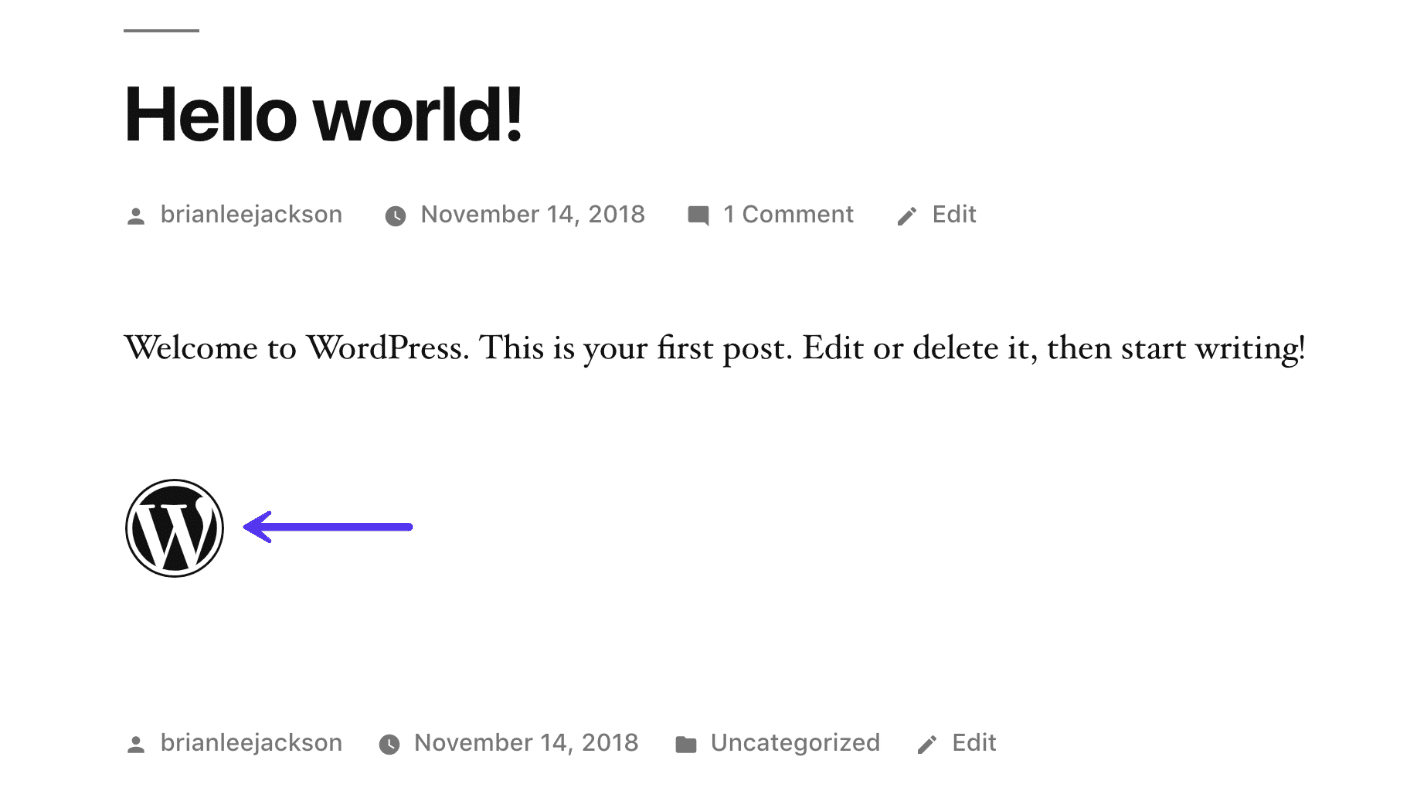
If you want a lot of easy to use shortcodes, you might want to also check out the Shortcodes Ultimate plugin. They have a premium icons add-on you can use.
The above is a great solution if you want to let your clients add icons to posts or pages, but if you want to use these elements within your theme or plugin it’s best to enqueue them yourself (will dive into this further below).
Option 2 – Use the Built-in Dashicons
Dashicons is a set of font icons included by default since WordPress uses it on the backend. You’ll need to enqueue it on the front-end, but all you need is the name of the script, the file is already available to WordPress.
You can add the following to your functions.php file, or we recommend using a free plugin like Code Snippets. This minimizes the risk of breaking your theme and the changes will also be persistent throughout theme updates.
function my_theme_styles() {
wp_enqueue_style( 'dashicons' );
}
You can then go to the Dashicons website, select an icon and click the “copy HTML” link which will give you the code you need to display the icon. They don’t have a huge selection, but they still work great and are very lightweight.
<span class="dashicons dashicons-admin-post"></span>For example, below we inserted the dashboard icon in a Gutenberg HTML block.
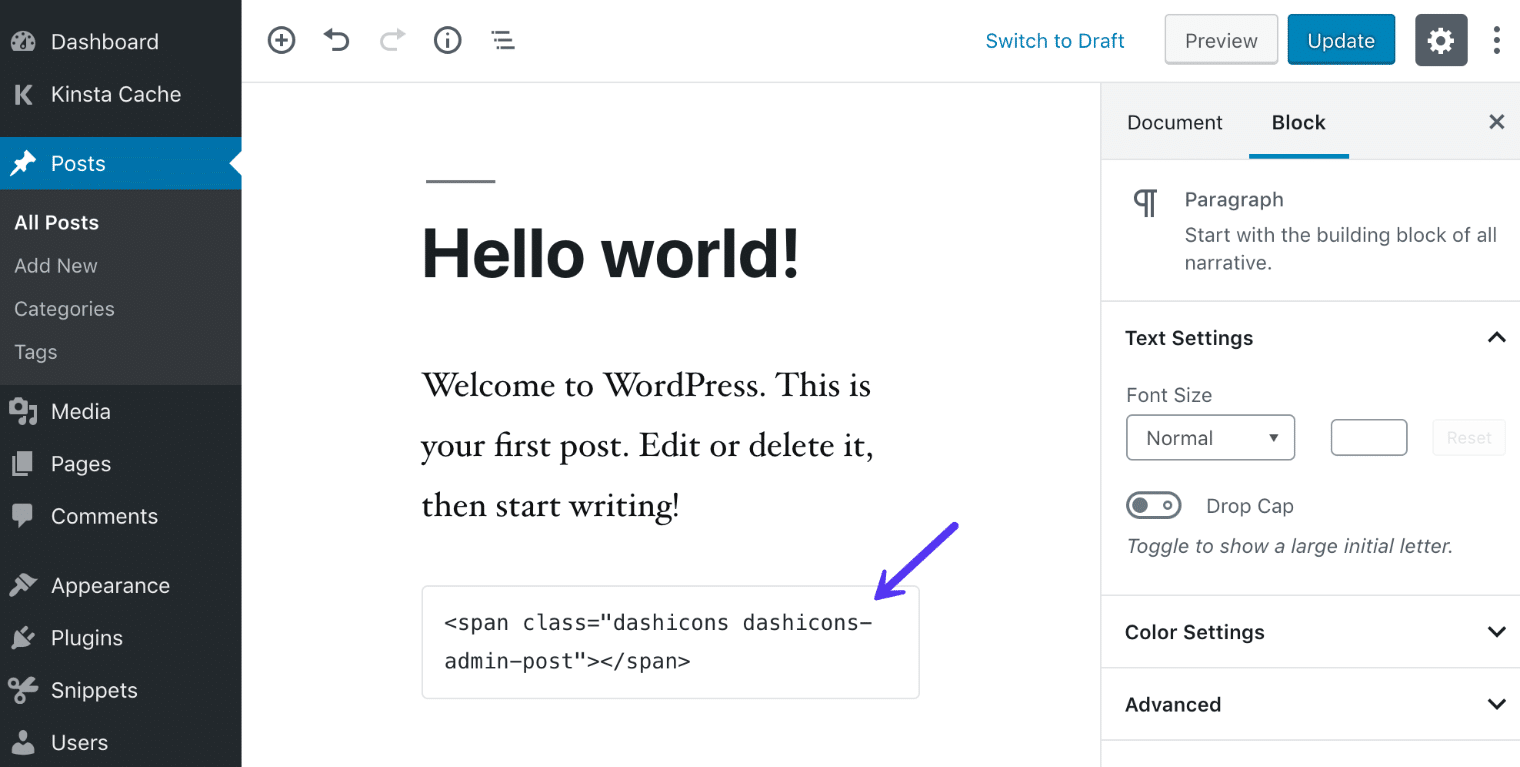
Here is what it looks like on the front-end.
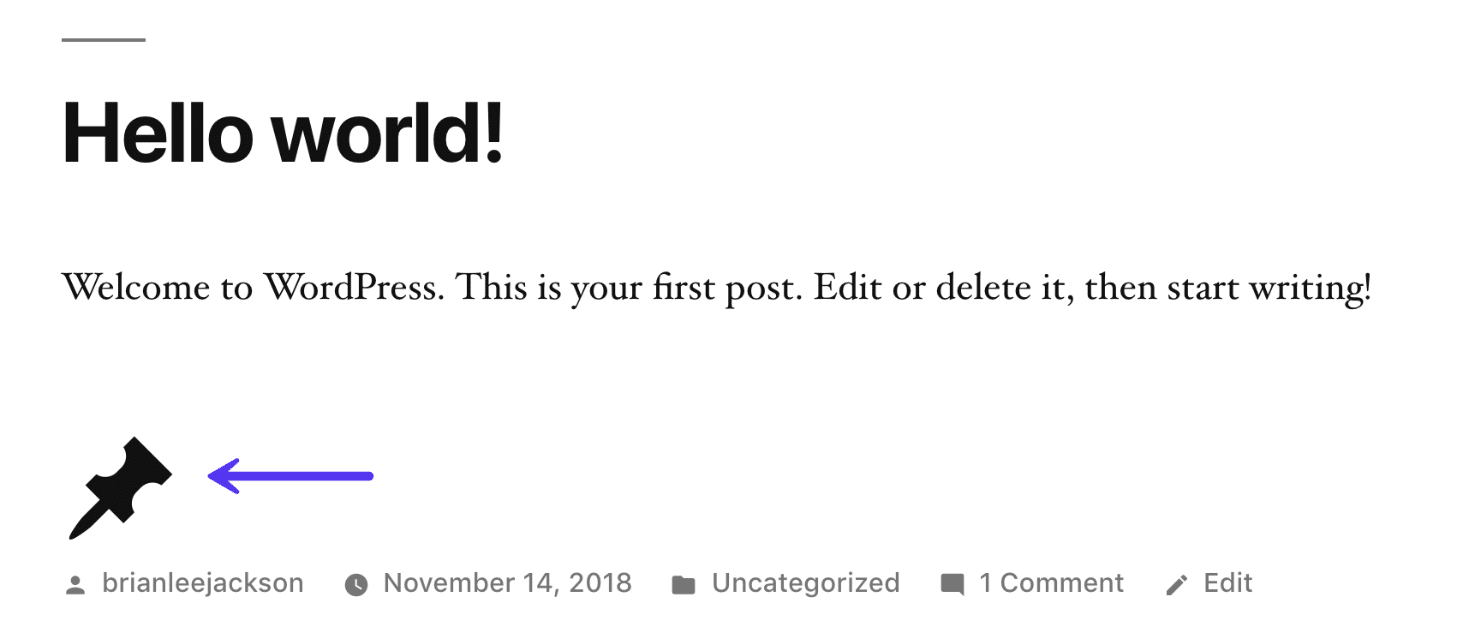
ashicons doesn’t have any cool shortcodes with it out of the box, but you can customize the size of your icons with CSS. Here is an example of inserting an icon right before a header.
<h2 class="dashicons-before dashicons-smiley">My Cool Headline</h2>Option 3 – Manually Link to Externally Hosted Icon Fonts
Your third option is to manually link to externally hosted icon fonts. This is essentially what the plugin in option 1 above is doing behind the scenes.
For Font Awesome, you can grab the code from their Start page and then follow the steps below. They host all of their fonts on a CDN for free for you. It will look something like this:
<link rel="stylesheet" href="https://use.fontawesome.com/releases/v5.5.0/css/all.css" integrity="sha384-xxxxx" crossorigin="anonymous">Step 1
Copy the code into the <head> of each template or page on your WordPress site where you want to use Font Awesome. You can edit your theme’s header.php file or better yet, follow our simple tutorial on how to add code to your header.
Step 2
You can then start placing icons in your HTML’s <body>. Find the right icon and learn how to add it onto your page.
Performance Issue to Consider with Using Icon Fonts
While there is nothing wrong with using one of the above ways to add icon fonts to your site, they aren’t technically the best way. Why? It all comes down to performance issues.
You Probably Don’t Need All Those Icons
First off, when you use a plugin for icon fonts or link to an external icon font library, it’s going to load all of the icons in its entire library. If you’re only using 20 or so icons throughout your entire site, this can be handled in a much better way.
For example, we included the Font Awesome 5 library on our site and while the CSS file for it is small, the font file itself is 108 KB. While this might not seem that big, you’ll see further below how small the file actually gets when we choose only the fonts we actually are using.

Loading From One CDN is Usually Faster
Second, there is nothing wrong with loading scripts from different CDNs. However, if you have the option to load it from one CDN, this is usually faster. Why? Because it can take advantage of a single HTTP/2 connection and reduces additional DNS lookups. Just make sure your main CDN is a good one!
Host Icon Fonts Locally (Only the Ones You Need)
Because of the performance reasons mentioned above, we are going to walk you through how to host your icon fonts locally, as well as only using the ones you need. By locally we mean either loading them from your WordPress host’s server or your own CDN.
By choosing only the icon fonts you need, this can bring down the file size from 100 KB to a couple of kilobytes, pretty handy! Even better: you can even mix and match icons from various font sets.
The Basics – How it Works
Using a font icon involves hosting the font file (WOFF, WOFF 2, etc.) on your web server, then using CSS to load the font face, then creating some markup to add the icons in the correct place.
While your site will load a single file, you’ll actually end up having a number of file formats for each font since some browsers utilize different formats. Font Awesome has 6 different file formats included: EOT, SVG, TTF, WOFF, WOFF 2 and OTF. However, based on browser support you really only need WOFF or WOFF 2.
Tip: WOFF is supported by 93%+ of all modern browsers. However, WOFF 2 is compressed more, but is only supported by 83%+ of all modern browsers. We recommend choosing one or the other or both. The browser will determine based on your code which one to deliver up to the client.
Your first task is to use a tool to choose only the icons you want. You can then add these files to your project directory somewhere, typically in a fonts directory.
Next, you add the Font Awesome CSS file into your project and add it to your website using a regular old link element.
<link rel="stylesheet" href="css/font-awesome.min.css">You could also enqueue the CSS file or if it’s small, simply use it inline.
If you look at the CSS file you can see what’s going on in the background. The font files are loaded, the basic element with the class of .fa is defined (along with some others), and finally, each named icon is defined (eg: .fa-book).
The only thing you need to be mindful of is the path to your font files. By default, they are loaded from ../fonts which will be the fonts directory, one folder up from the current CSS file. You may need to change this to fit your own directory structure.
Now that you have a better idea of how it works, we are going to add walk you through how to do it step by step. In this example, we are using a production ecommerce site.
Step 1
First, you should determine which font icon library you want to use. We shared a few we like at the beginning of this article. In this example, we’re going to be using Font Awesome along with the IcoMoon font generator. If you want the WOFF 2 files from IcoMoon, you do have to pay a one-time fee of $9.00 to access their premium library.
You can download the Font Awesome icons you want manually for free, but you would need to use a tool like FontForge to manually edit their WOFF or WOFF 2 file. We are all about easy, so we’re using a generator.
Step 2
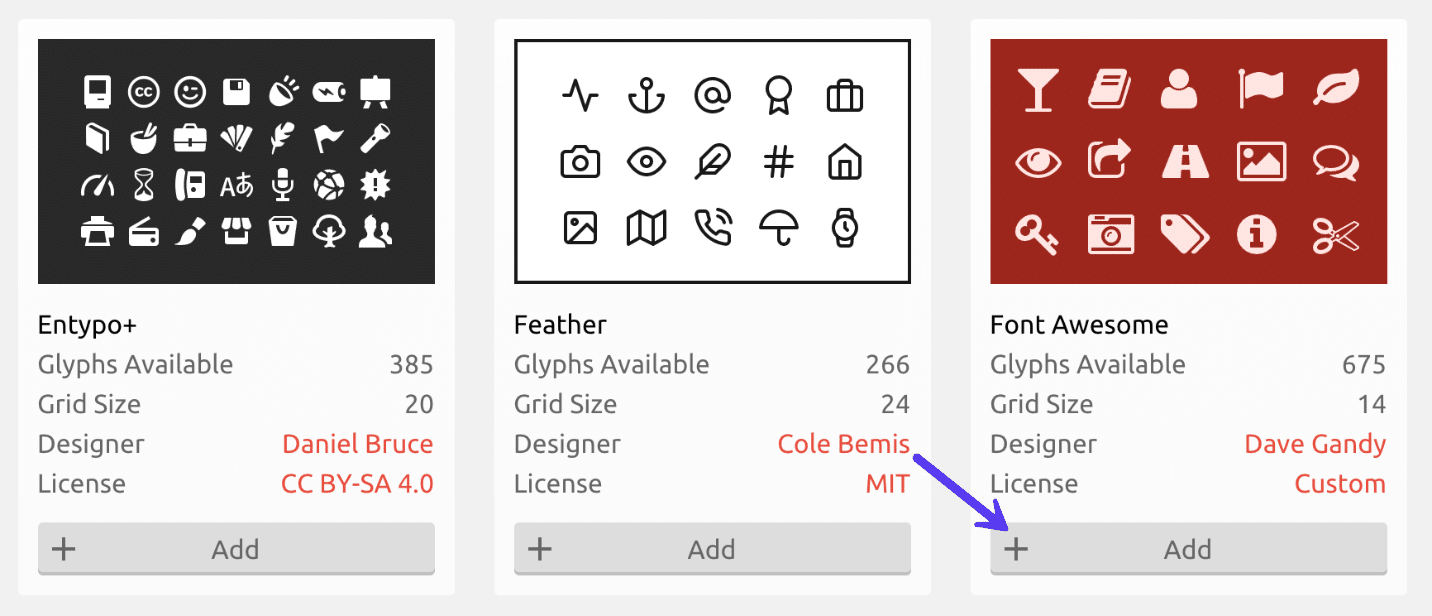
Head over to the IcoMoon generator. We click “Add” on the Font Awesome library.
Step 3
Next, you’ll want to pick the icons you want to use on your WordPress site. If you are already using Font Awesome and are simply moving to locally hosted versions, go through and make a short list and then choose them from the library.
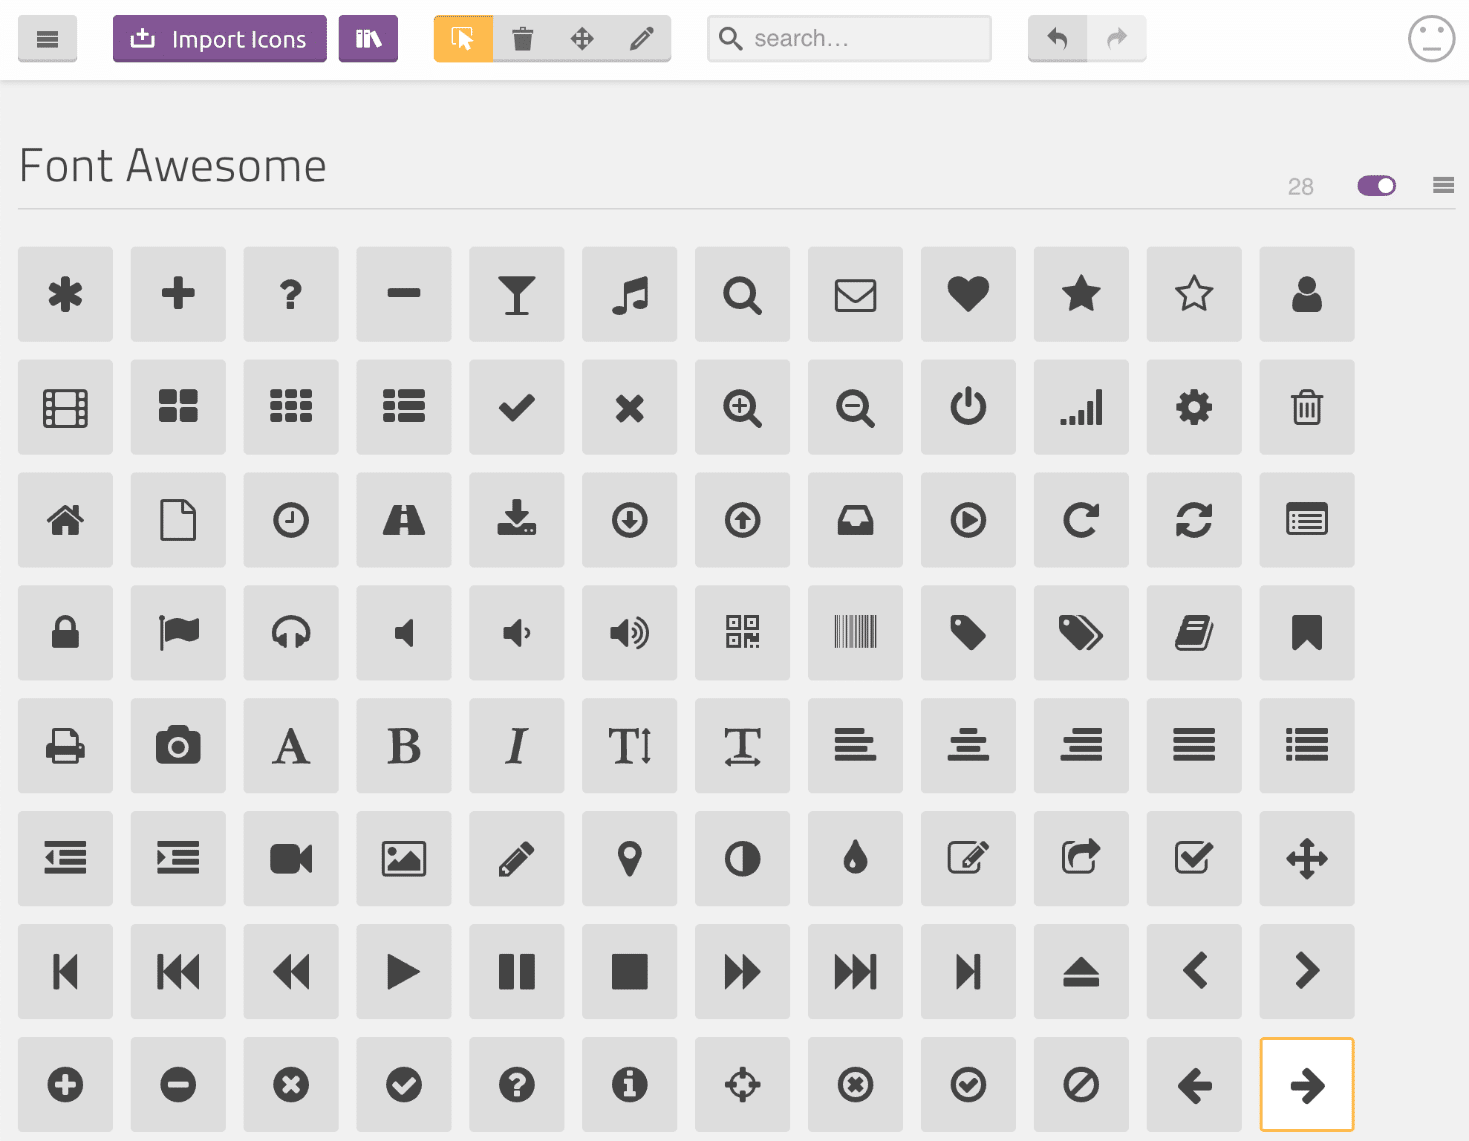
In this example, we are picking out icons for perfmatters.io, a WordPress ecommerce site which runs Easy Digital Downloads.
Step 4
Once you’ve picked out all your icons, choose “Generate Font” at the bottom. For this site, we ended up needing 20 icons.
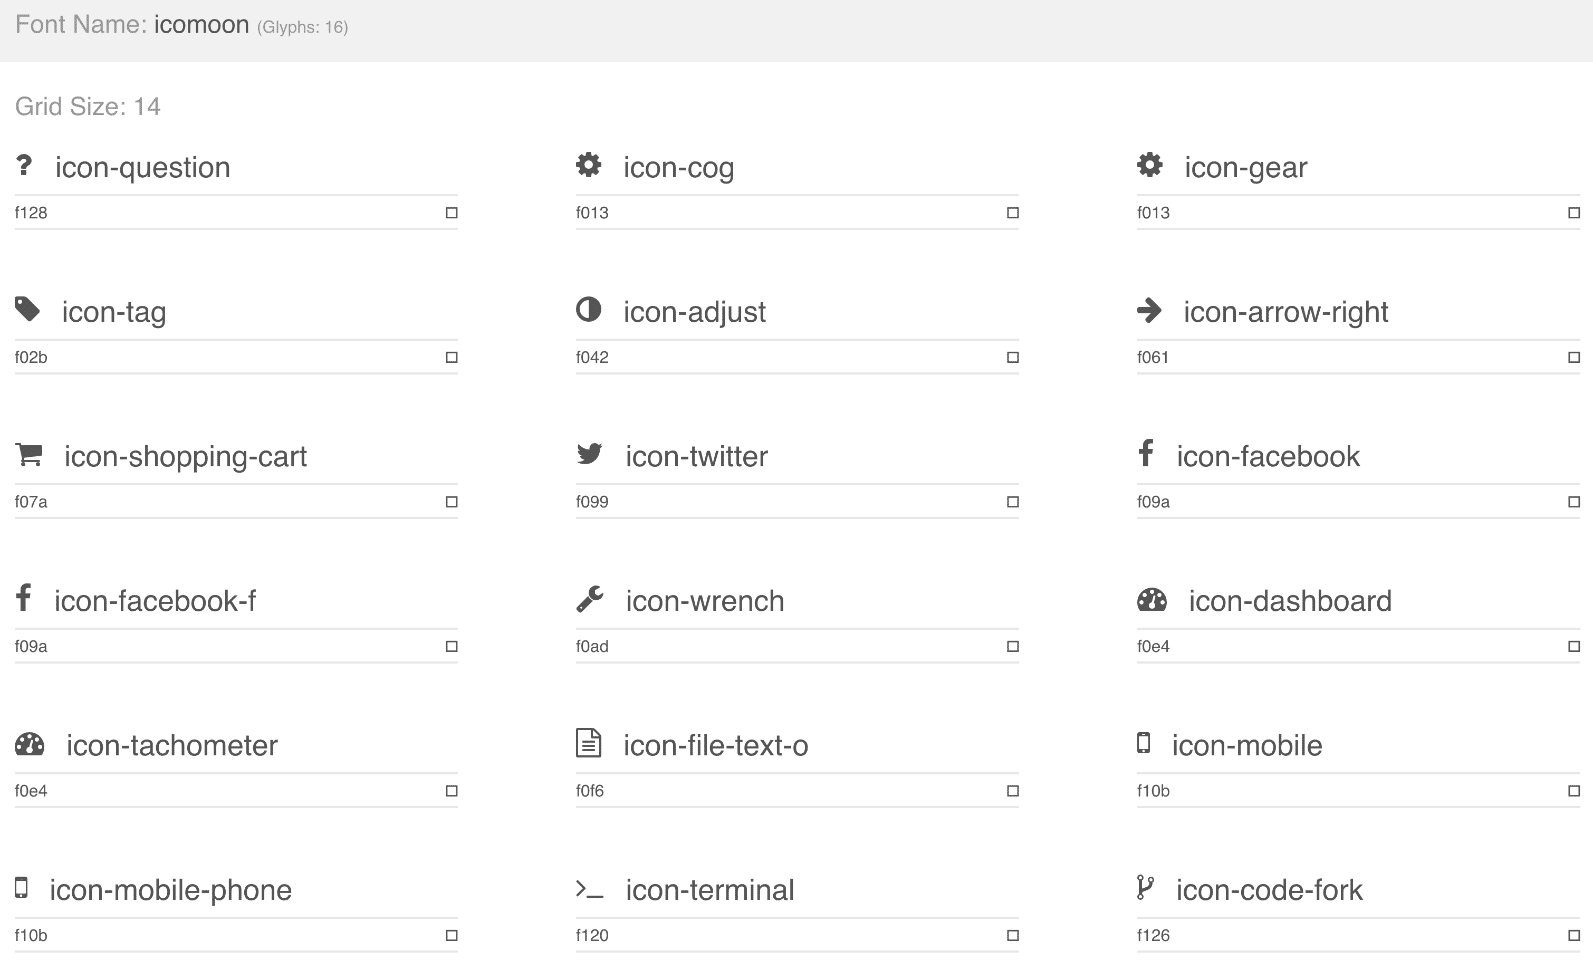
You will end up with files that look like this. The important ones you’ll need is the style.css file and the font files (WOFF, WOFF 2).
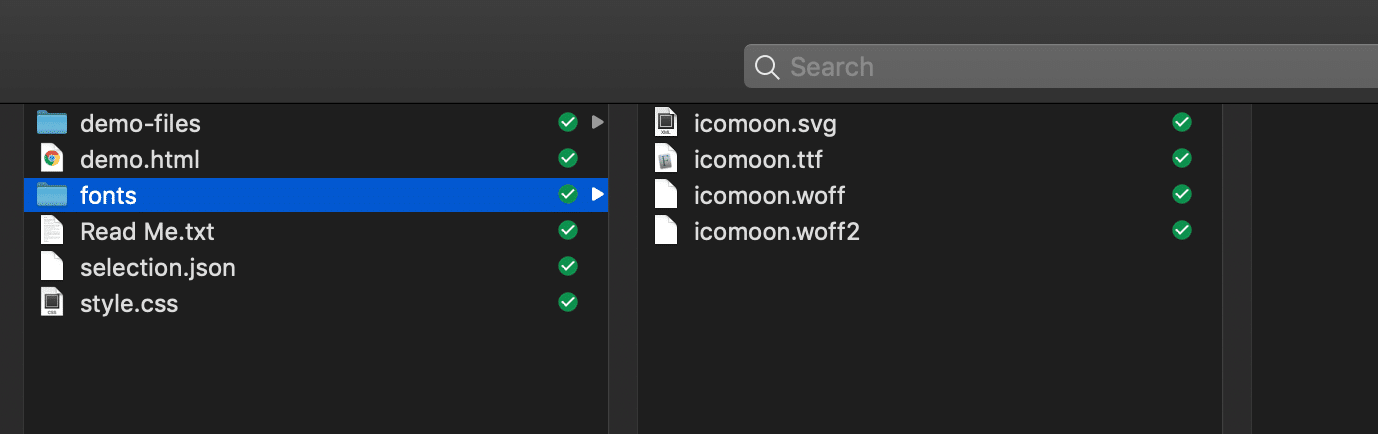
Step 5
Next, it’s recommended you perform a find and replace in the style.css before you upload/copy it to your site. Here is what the original one looks like.
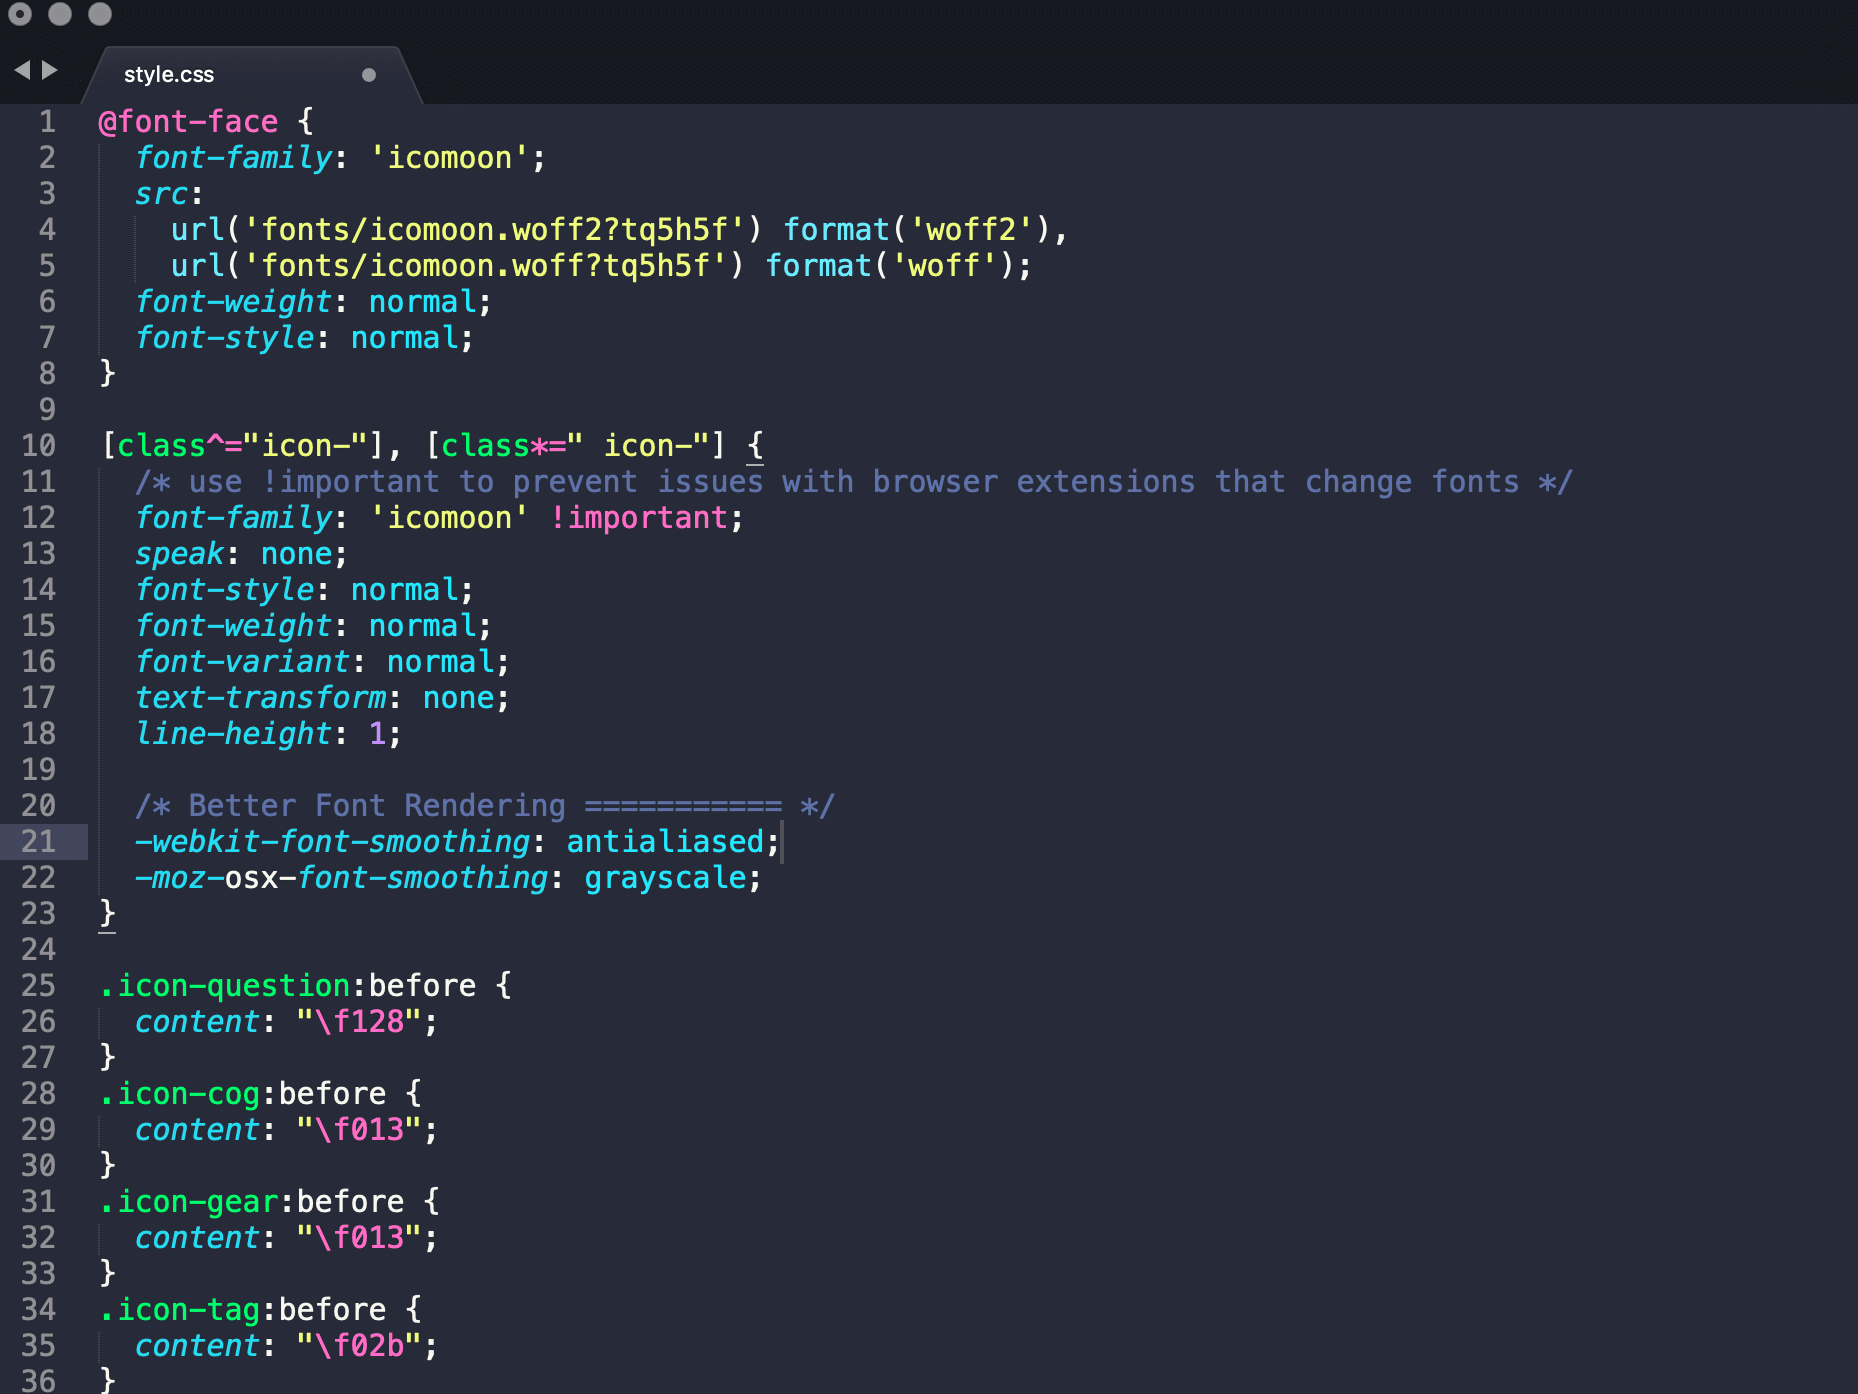
For those of you already using Font Awesome, this simply makes it easier to change the classes over to Font Awesome ones, this way if there was something already coded on your WordPress site with it, it will automatically start using the icons.
So do a Find for “icon” and replace all of the occurrences with “fa”. You should be able to do a quick find and replace with a text editor like Sublime.

This replaces [class^="icon-"], [class*=" icon-"] with [class^="fa-"], [class*=" fa-"]. It also fixes each icon, so instead of starting with .icon-, they now start with .fa-.
You might also need to change the source URL based on where you upload your font files down in Step 7. We recommend changing the URL to your CDN.
Step 6
Next, you need to add the CSS to your site. There are a couple ways you can do this.
Option 1
Since the amount of CSS is very small, you could copy all of the file’s CSS and paste it into the WordPress Customizer. Never do this for large files, but this is a relatively small amount of CSS. This means it will load inline on your site.
Option 2
You could link to your stylesheet manually by placing it in the header of your WordPress site. Tip: Link to it on your own CDN for faster performance.
<link rel="stylesheet" href="https://cdn.yourdomain.com/fonts/style.css">Option 3
You could also enqueue the CSS file in WordPress. The process is very similar to the manual way. Add the following to your theme’s functions.php file, or use the free Code Snippets plugin. You might need to change the directory based on where you upload it.
function my_theme_styles() {
wp_enqueue_style( 'FontAwesome', get_template_directory_uri() . '/css/style.css' );
}
add_action( 'wp_enqueue_scripts', 'my_theme_styles' );
Step 7
Now that you have the CSS added to your site, it’s time to upload the font files. You can put the fonts anywhere, a folder called “fonts” in your /public directly is fine. Remember though, the source folder in your style.css file needs to match.

Step 8
Now your WordPress site should have both your CSS and font files accessible. So next, you can add some markup to your site. This is just an example of adding a cog icon.
<i class="fa fa-cog"></i>You can see a live example of this working over at perfmatters.io. Keep in mind that you can use any element, not just i. You can use regular span elements as well, in addition to adding CSS to your custom classes.
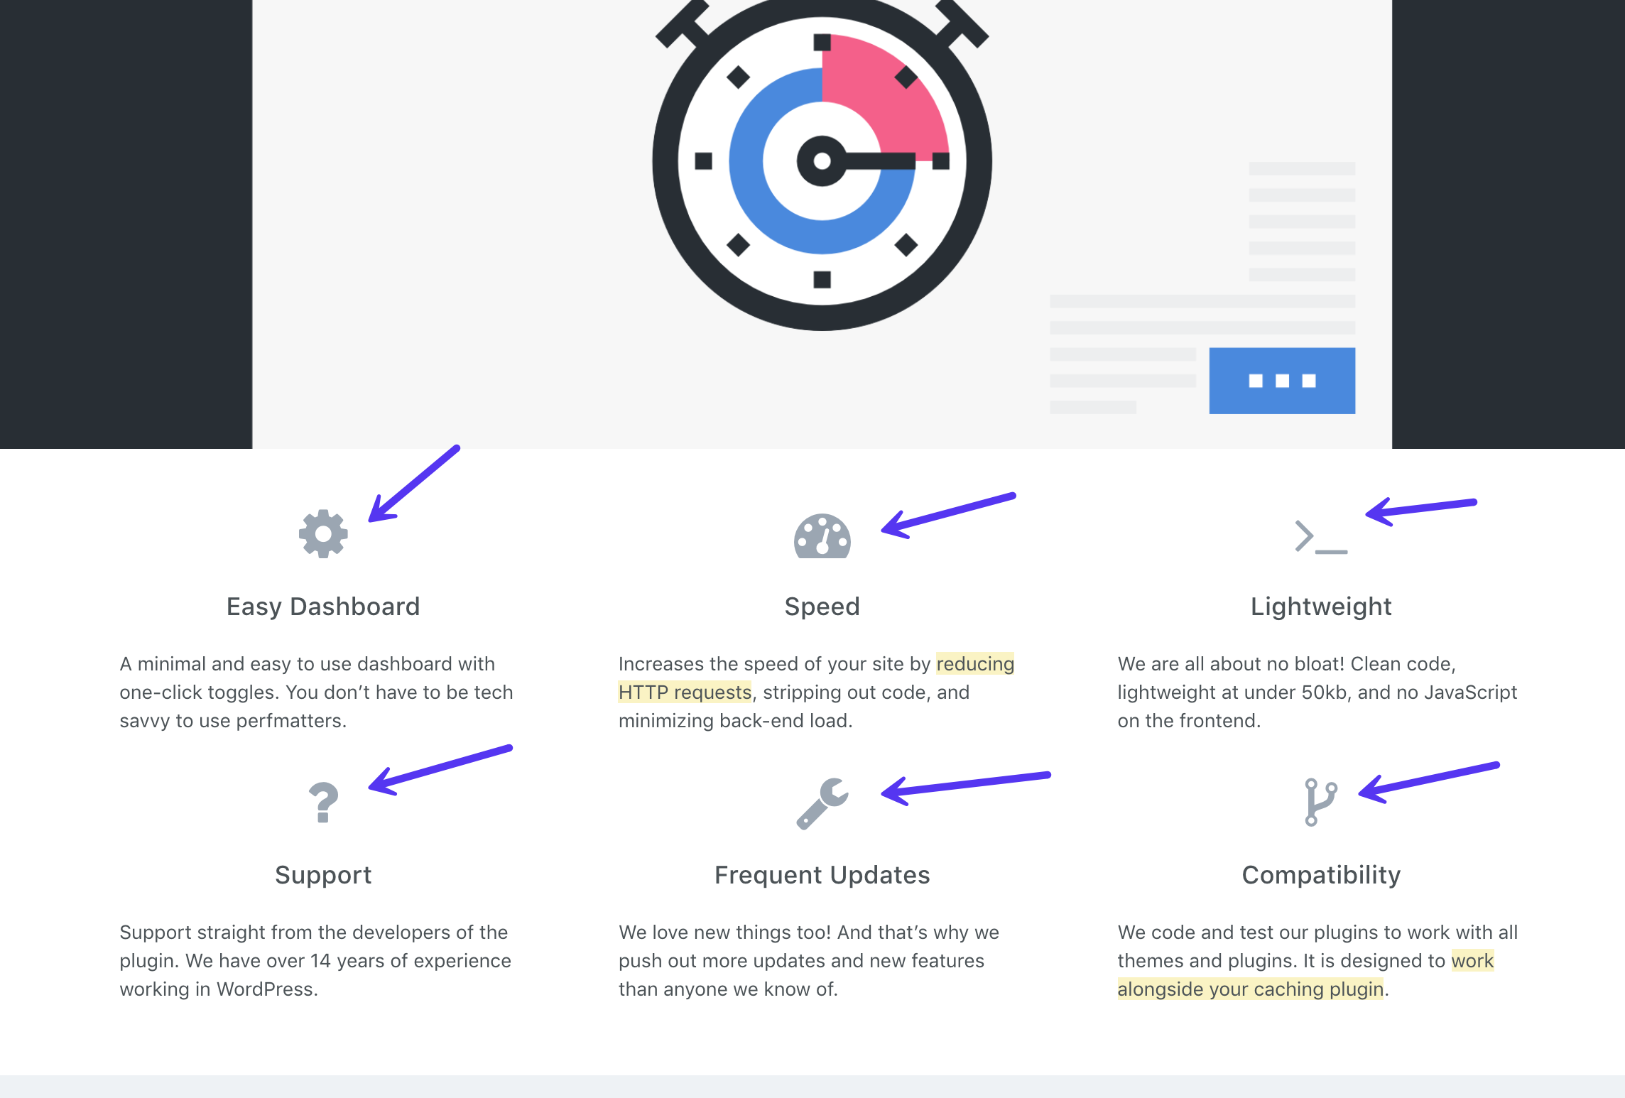
The real difference is when you take a look at the size difference. Remember, when we linked to the Font Awesome external library, the total size of the font file was 108 KB. After we used a font generator and chose only the Font Awesome icons we needed for the site, it brought the font file down to 2.6 KB. Our font file decreased in size by a whopping 97.59%!
Not only that but it now also loads from our CDN, which means there are no extra DNS lookups to fontawesome.com.
Icon Fonts Accessibility Concerns
One downside of icon fonts is their horrible accessibility. Screen readers may skip them, or worse yet, read the unicode or the character itself. This would result in visually impaired people hearing “yellow star favourites” when looking at your favourites menu item – not ideal. You should also take into account what happens if the fonts don’t load.
Ideally, you would want decorative icons to simply disappear when not loaded and critical icons to be replaced with text if there is an issue.
The accessibility issue is fairly easy to take care of, simply use the aria-hidden="true" parameter and value to indicate to screen readers that they should discard our element.
<span class="icon icon-star" aria-hidden="true"></span> My FavouritesIn a more complete implementation, you can also use Modernizr to test for font face support. You’ll need to modify the CSS slightly, see the excellent Bulletproof Font Icons article for more in-depth information.
For information about creating critical icons with text fallback, we would also recommend reading the article above, they have explained and solved the issue as best as possible, but implementing it is a bit out of the scope of this article.
Summary
That’s all there is to icon fonts. Now you know a couple of different ways to easily get icon fonts on your WordPress site, along the best way to implement them when it comes to performance.
We always recommend using a font generator to build an icon font that consists of only those icons you use. This will make your theme considerably more streamlined! If you have a favorite library or generator that we didn’t mention, please let us know. There are a fair number of good ones out there!
Categories
Subscribe Now
10,000 successful online businessmen like to have our content directly delivered to their inbox. Subscribe to our newsletter!Archive Calendar

| Sat | Sun | Mon | Tue | Wed | Thu | Fri |
|---|---|---|---|---|---|---|
| 1 | 2 | |||||
| 3 | 4 | 5 | 6 | 7 | 8 | 9 |
| 10 | 11 | 12 | 13 | 14 | 15 | 16 |
| 17 | 18 | 19 | 20 | 21 | 22 | 23 |
| 24 | 25 | 26 | 27 | 28 | 29 | 30 |
| 31 | ||||||
Recent Articles
-

Posted on : Jul 25
-

Posted on : Jul 07
-

Posted on : Apr 07
-

Posted on : Mar 19
Optimized my.cnf configuration for MySQL 8 (on cPanel/WHM servers)
Tags
- layer 7
- tweak
- kill
- process
- sql
- Knowledge
- vpn
- seo vpn
- wireguard
- webmail
- ddos mitigation
- attack
- ddos
- DMARC
- server load
- Development
- nginx
- php-fpm
- cheap vpn
- Hosting Security
- xampp
- Plesk
- cpulimit
- VPS Hosting
- smtp
- smtp relay
- exim
- Comparison
- cpu
- WHM
- mariadb
- encryption
- sysstat
- optimize
- Link Building
- apache
- centos
- Small Business
- VPS
- Error
- SSD Hosting
- Networking
- optimization
- DNS
- mysql
- ubuntu
- Linux