How to Install and Configure XAMPP on Ubuntu Linux
- Category : Linux Helpline (Easy Guide)
- Posted on : Nov 07, 2020
- Views : 3,066
- By : CentrioHost
Testing a website is essential before filing the backend data on a live hosting platform. You might know that Apache offers to use a localhost server to test your site through a web browser. If you need a bit more integrated LAMP stack service for your Ubuntu system, here comes the Xampp. Xampp is one of the most used cross-platform, free, and open-source LAMP stack tools for testing databases, servers, and websites. If you have a Ubuntu Linux machine, Xampp allows creating a localhost server to work with phpMyAdmin, a PHP server, and make databases.
Install XAMPP on Ubuntu Desktop
XAMPP is written in Perl and PHP language and maintained by Apache Friends. It is totally compatible with the Linux kernel. XAMPP can be used on a low RAM and CPU configuration Linux system and doesn’t consume a lot of your storage system.
It uses web cache to load the heavy servers faster and supports CGI scripting, database manipulation. As it creates a localhost server environment on a local machine, you would not need any active internet connection to use XAMPP and the localhost server. Moreover, it is capable of sending and receiving HTTP requests.
In the entire post, we’ll see how you can install, configure, and get started with the XAMPP on a Ubuntu Linux system. I must note, as XAMPP provides a compiled .run file for Linux variants, the method I’m about to describe would be the same for Debian, Red Hat, Fedora, and other major Linux distributions.
Step 1: Update System Repository
Before installing the XAAMP service on a Ubuntu machine, it is necessary to update the system repository. It can repair the broken repository files and install the updated dependencies. You can run the following aptitude commands on your terminal shell to update your Linux repository.
sudo apt update
sudo apt upgrade -y
Step 2: Download Xampp on Ubuntu Linux
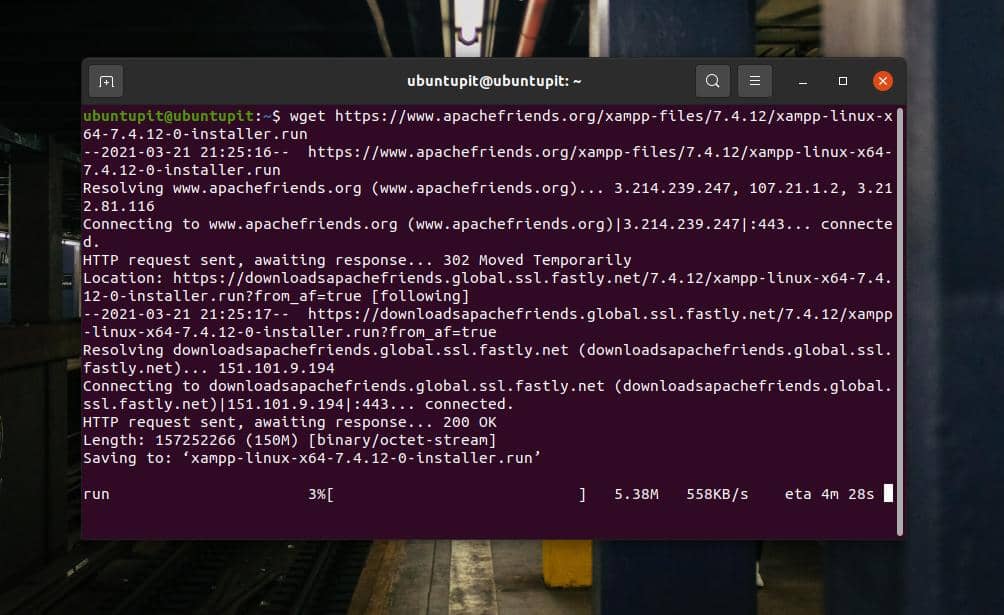
XAMPP allows downloading the run file for the Ubuntu system through the wget command. You can download XAMPP with three different versions of the PHP framework. You can run one of the following commands given below to download and store the XAMPP run package on your filesystem.
Run the following Wget Command to Download XAMPP with PHP 7.4
wget https://www.apachefriends.org/xampp-files/7.4.12/xampp-linux-x64-7.4.12-0-installer.run
Download XAMPP with PHP 7.3 For Linux
wget https://www.apachefriends.org/xampp-files/7.3.24/xampp-linux-x64-7.3.24-0-installer.run
Wget Command to Download XAMPP with PHP 7.2
wget https://www.apachefriends.org/xampp-files/7.2.34/xampp-linux-x64-7.2.34-0-installer.run
If you find any issues downloading XAMPP through the wget command, you can download it directly from the official website of XAMPP. Please visit this link and download XAMPP with your desired PHP version.

Step 3: Install Xampp on Ubuntu Linux
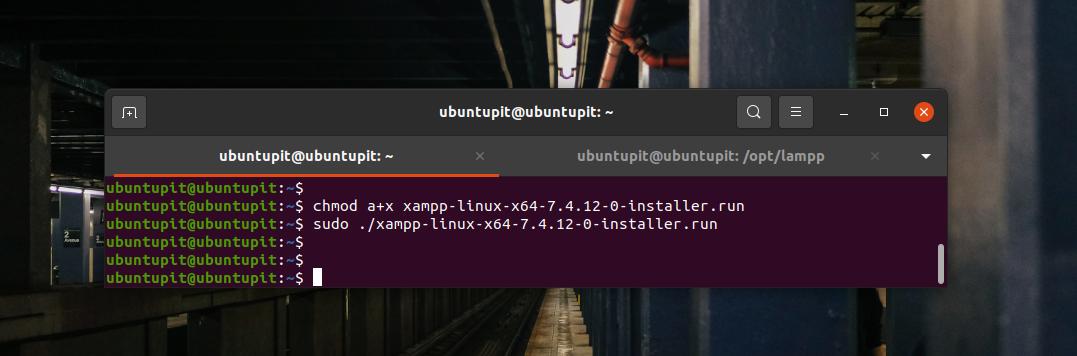
Usually, the wget command stores downloaded files inside the Home directory. After finding the XAMPP run file on your filesystem, open it through the terminal shell. Then we will need to grant the root access for the installer file to run it as a superuser. You can run the following chmod command on your terminal shell to give permission.
chmod a+x xampp-linux-x64-7.4.12-0-installer.run
Finally, run the following installer script command on the terminal shell to initialize the installation process of XAMPP on your system.
sudo ./xampp-linux-x64-7.4.12-0-installer.run
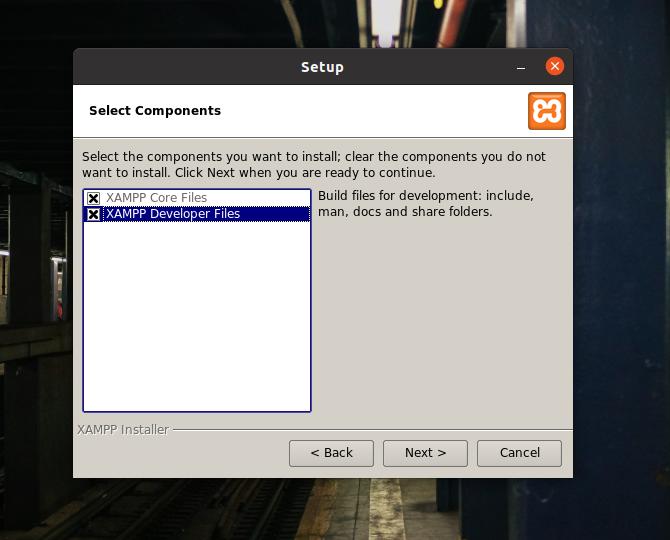
The above installer script command will open a new window for setting up the installation parameters of XAMPP. In this step, you’ll find that installing XAMPP on Linux is pretty similar to Windows. You can choose and checkmark the fields that you want to install or set during the installation process.
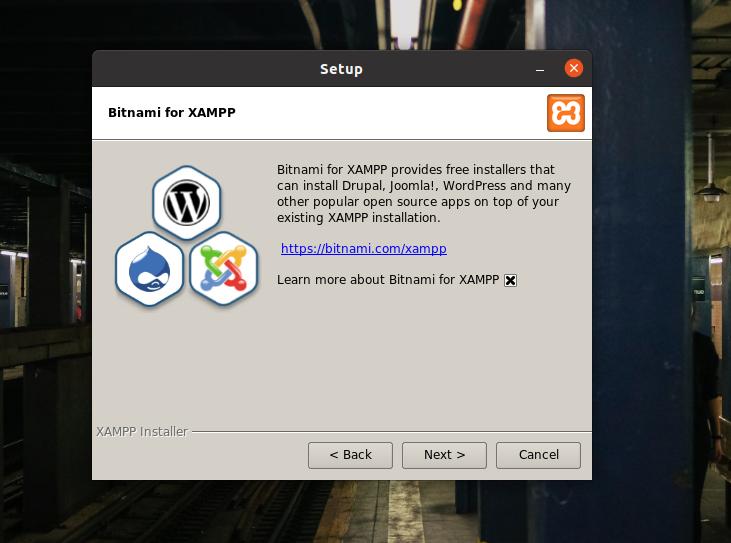
XAMPP also allows you to install developer files and core files on your Linux system. After check-marking the options, click on the Next button to proceed.
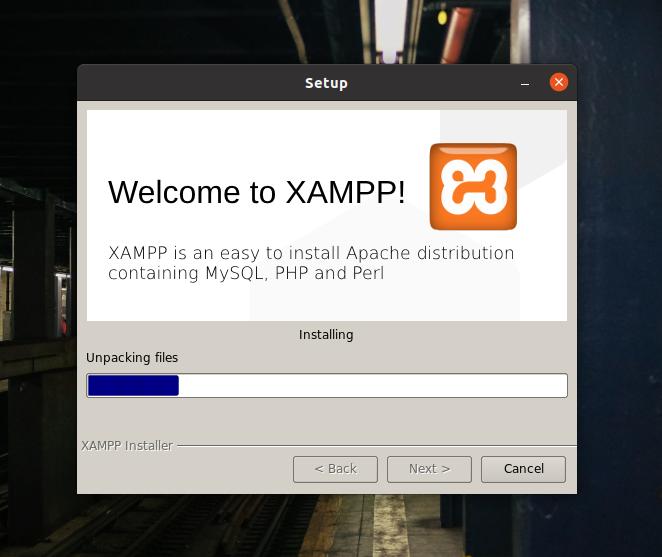
In this stage, you will see a progress bar on the screen to monitor the installation growth. The entire installation won’t take more than ten minutes.
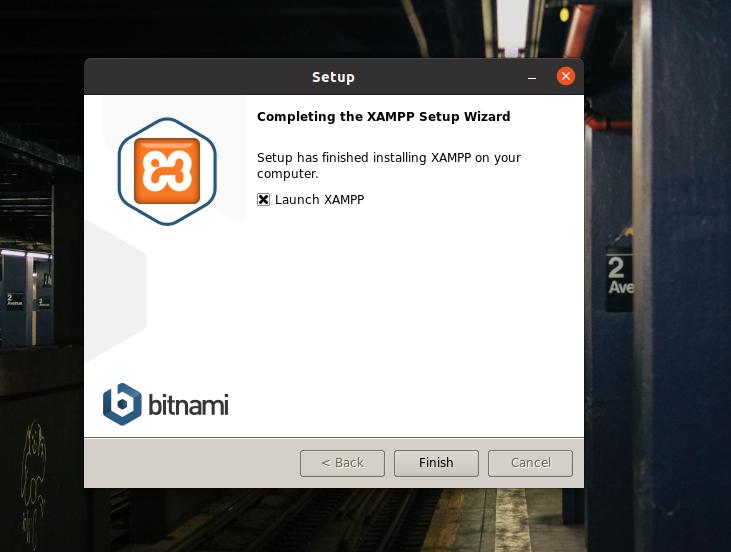
When the installation finishes, you will see a new window with a ‘Completing the XAMPP Setup Wizard’ message on the screen. Now, select the Launch XAMPP and hit the Finish button to start the XAMPP tool immediately on your Ubuntu system.
By default, Linux saves the XAMPP files inside the OPT (repository of the add-on packages) directory. You can also run XAMPP on your Ubuntu machine by running the following command on your terminal shell.
cd /opt/lampp
/opt/lampp$ sudo ./manager-linux-x64.run
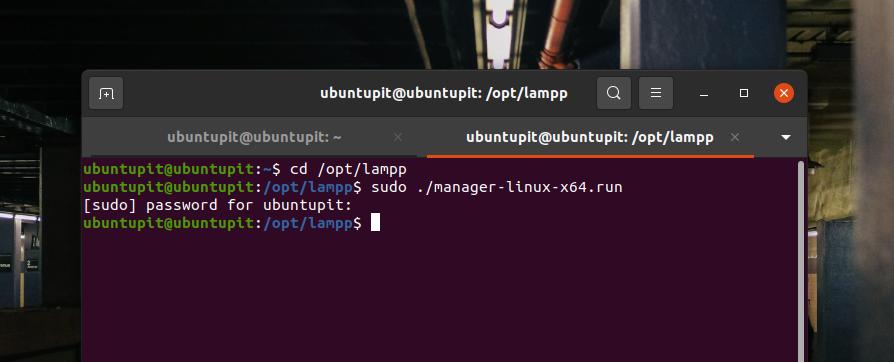
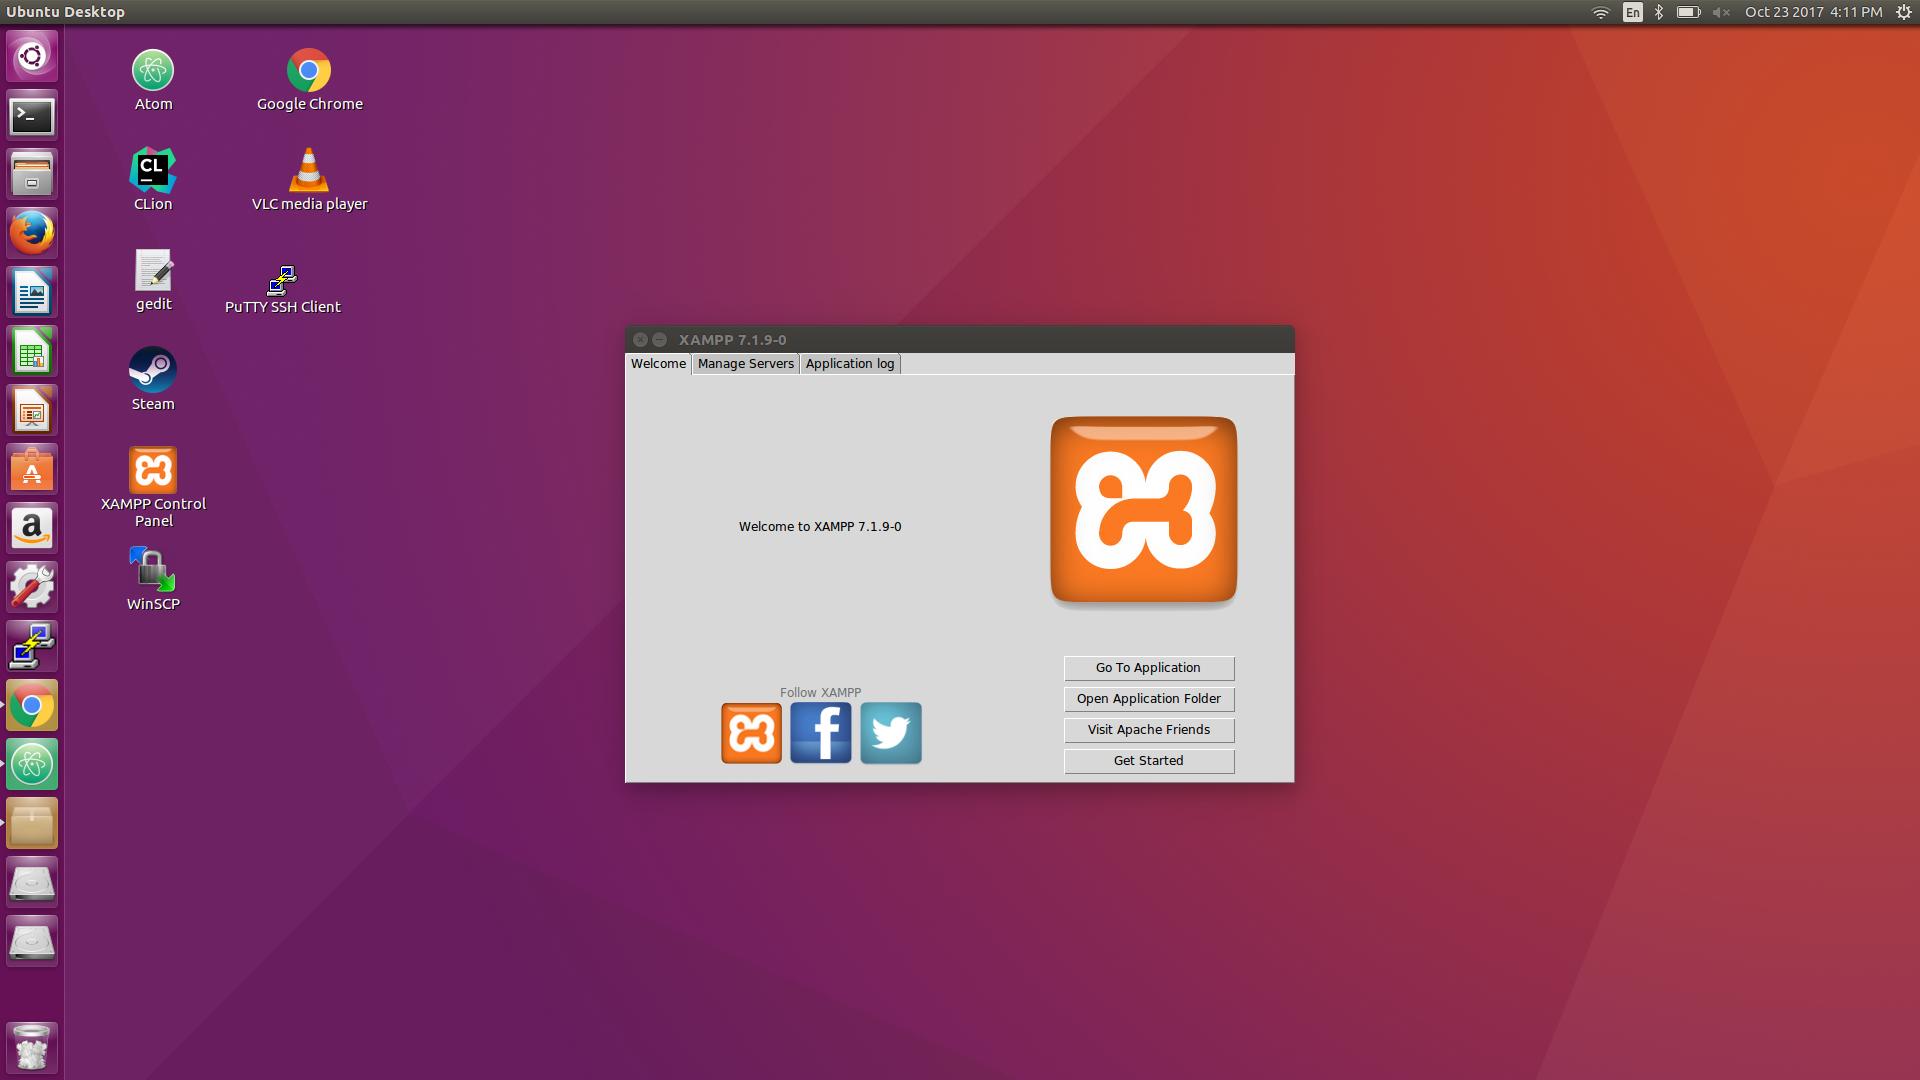
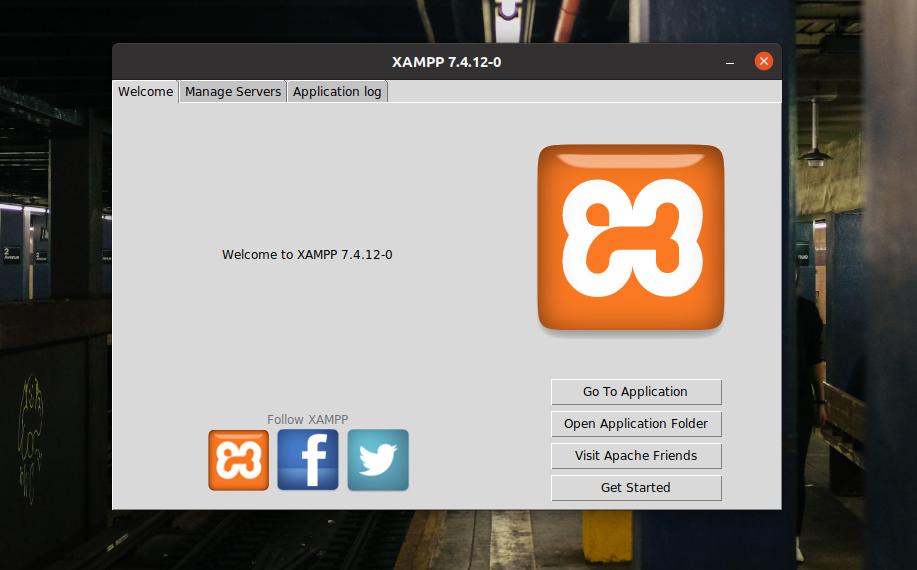
A ‘Welcome to XAMPP’ message will pop up on the screen if everything goes correct. You can now navigate and manage the localhost servers through the ‘Manage Servers’ and ‘Application Log’ tabs from the top bar.
Step 4: Configure Xampp
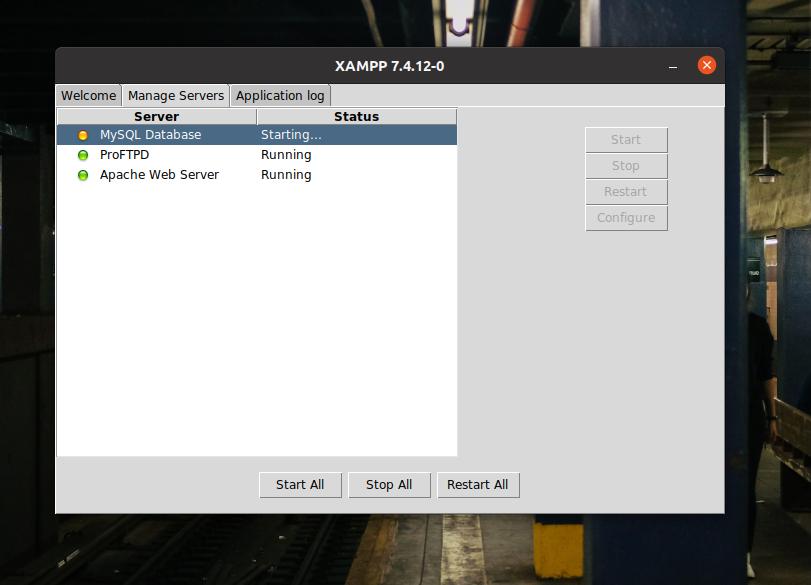
XAMPP actually doesn’t require to be required. The default settings work perfectly on a new machine. But if you have other servers installed into the localhost service, you might need to configure XAMPP with other IP addresses. XAMPP’s GUI-based settings window is easy to navigate and configure. You can configure the MYSQL database, FTPD, and HTTP server from the ‘Manage Servers’ tab on the top bar of XAMPP.
You can also check the Application log to monitor XAMPP’s activity. XAMPP also has three dedicated buttons to start, stop, and restart services on Linux. If you’re not a fan of GUI Linux, you can run the following command-lines on your terminal shell to start, stop, and restart XAMPP on your Ubuntu machine.
sudo /opt/lampp/lampp start
sudo /opt/lampp/lampp stop
$ sudo /opt/lampp/lampp restart
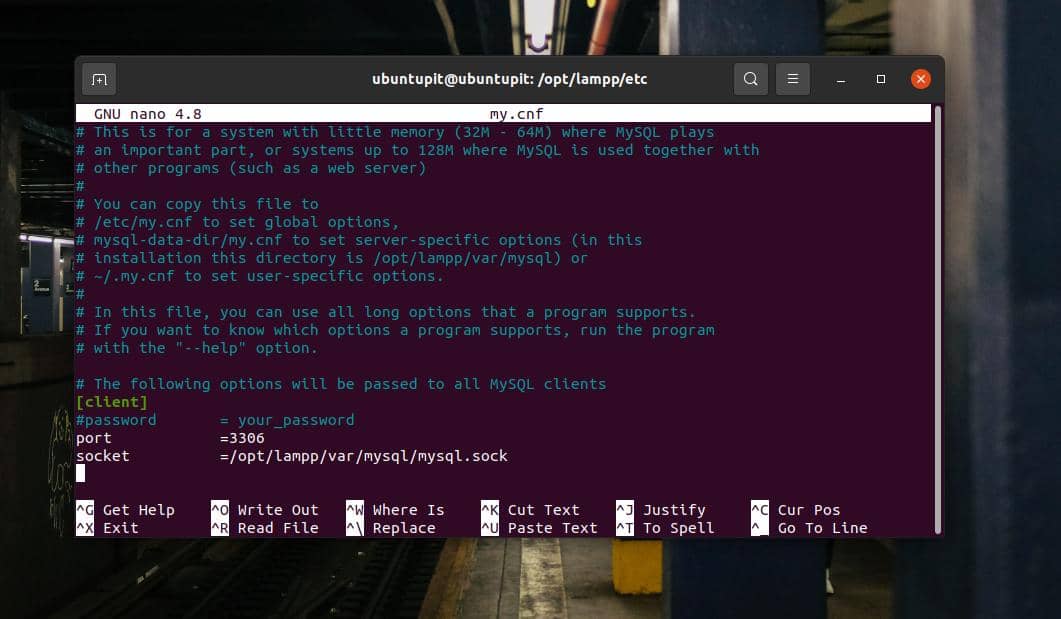
XAMPP’s configuration scripts are stored inside the /opt/lampp directory. You can open the /opt/lampp directory and look for the configuration scripts. Inside the /opt/lampp/etc/ directory, you will find all the configuration files. Open the file you need to edit. You should not mess up with the configuration scrips if you don’t know what you’re doing.
Here, as a demonstration of how to edit the configuration file, I’m showing how to edit the MySQL configuration script. As we’re already inside the directory, the following command will work perfectly to edit the MySQL script.
/opt/lampp/etc$ nano my.cnf
Step 5: Start Xampp
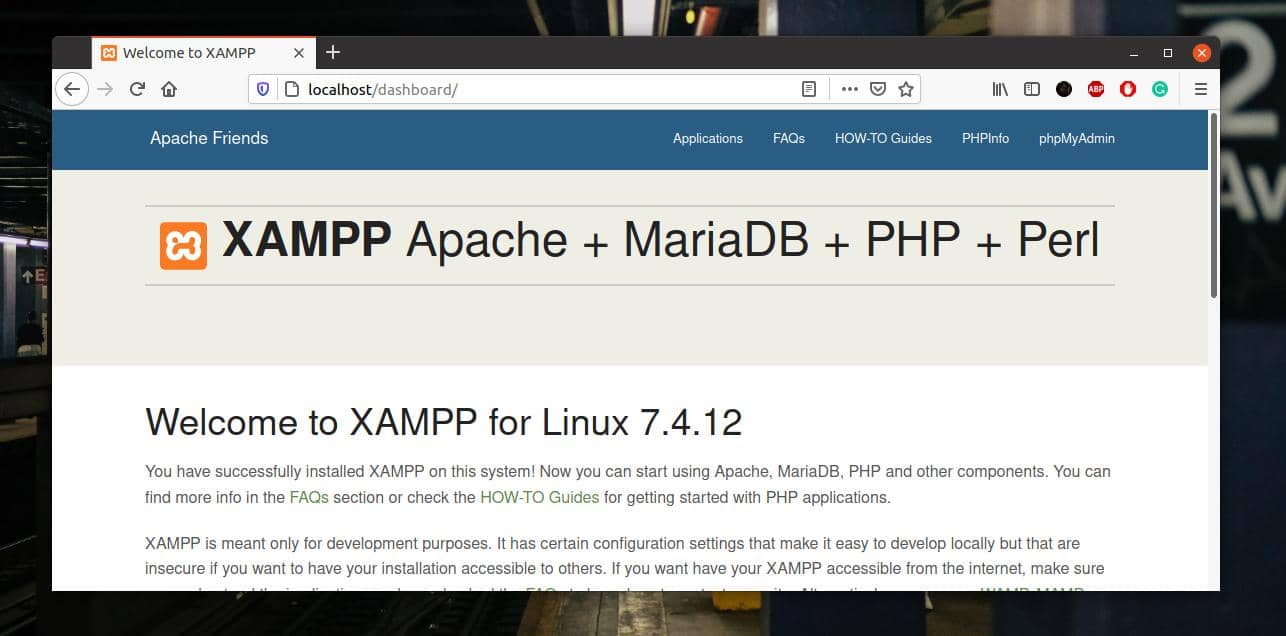
Till now, we’ve seen how to install and configure XAMPP on a Linux system. It’s time to get started with it. To open XAMPP on your Ubuntu Linux, you can open the following URLs on the web browser. The first URL will open the XAMPP’s welcome page, and the next URL will open the PHPMyAdmin page.
http://localhost/dashboard
http://localhost/phpmyadmin
Step 6: Remove Xampp From Linux
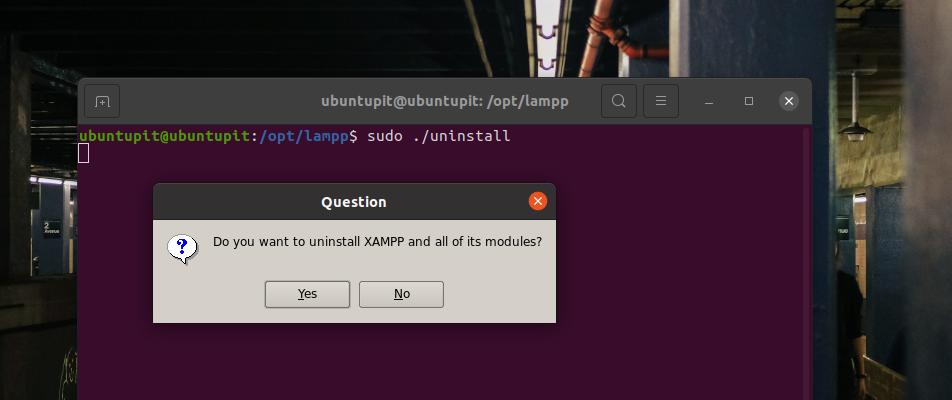
As I said earlier, XAMPP is an excellent tool for web developers and testers. You will love it when you get used to it. But sometimes, you might need to remove XAMPP from your Ubuntu Linux system. You can run the following command-lines on your terminal shell to remove XAMPP from your system.
cd /opt/lampp
sudo ./uninstall
Final Words
If you are a power Linux user and a developer, XAMPP can be one of the most used tools that you might need to install right after a fresh Ubuntu installation on your machine. In the entire post, I’ve illustrated the method of installing and getting started with XAMPP on a Ubuntu Linux system.
Please share this post with your friends and the Linux community if you find it helpful and handy. You can also write down your opinions regarding this post in the comment section.
Categories
Subscribe Now
10,000 successful online businessmen like to have our content directly delivered to their inbox. Subscribe to our newsletter!Archive Calendar

| Sat | Sun | Mon | Tue | Wed | Thu | Fri |
|---|---|---|---|---|---|---|
| 1 | 2 | 3 | 4 | 5 | ||
| 6 | 7 | 8 | 9 | 10 | 11 | 12 |
| 13 | 14 | 15 | 16 | 17 | 18 | 19 |
| 20 | 21 | 22 | 23 | 24 | 25 | 26 |
| 27 | 28 | 29 | 30 | |||
Recent Articles
-

Posted on : Jul 25
-

Posted on : Jul 07
-

Posted on : Apr 07
-

Posted on : Mar 19
Optimized my.cnf configuration for MySQL 8 (on cPanel/WHM servers)
Tags
- layer 7
- tweak
- kill
- process
- sql
- Knowledge
- vpn
- seo vpn
- wireguard
- webmail
- ddos mitigation
- attack
- ddos
- DMARC
- server load
- Development
- nginx
- php-fpm
- cheap vpn
- Hosting Security
- xampp
- Plesk
- cpulimit
- VPS Hosting
- smtp
- smtp relay
- exim
- Comparison
- cpu
- WHM
- mariadb
- encryption
- sysstat
- optimize
- Link Building
- apache
- centos
- Small Business
- VPS
- Error
- SSD Hosting
- Networking
- optimization
- DNS
- mysql
- ubuntu
- Linux